This is how you make your bow ready for the season! As soon as the first rays of sunshine come out and the temperatures rises again, we are all drawn outside on the courses. This is the perfect time to get the archery equipment out and get it ready for the season. We will tell you what you have to pay attention to using a small checklist.
1. Cleaning the bow
For example, if your bow has spent the winter on the wall in your living room, it is first necessary to dust or clean the bow. For this, however, you should refrain from soaps and solvents (can damage the paint of your bow) and simply wipe the sheet with a damp cloth. However, be careful not to wipe too wet and to keep the bow dry again immediately afterwards. In unprotected places, such as paint chips, water could penetrate into the laminate.
2. Checking the bow
As soon as your bow is clean and dry, you can check it perfectly for external influences and weak points in the material. It is important that you control it, because a bow that poses a safety risk due to material defects must not be shot. So be sure to check whether the laminate has come loose in any places. Also look at the nature of the paintwork. Are there sharp edges here? Especially on the tips and the string grooves must not be felt any sharp. If your bow has successfully passed the control, you can now make it ready to shoot. Control the shelf and refine the pad if necessary. To care for the string grooves you can put a little string wax directly into the groove.
3. Check the string
Of course, the bowstring is also one of the absolutely relevant components on the bow. If the string is already roughly worn at first glance, you should replace it directly with a new one. However, an already used string can last very long with the right care. In general, it is not possible to say after which time you should change the string. It is clear that the string should not be frayed or even severed strands. If your string looks good, you should brush it completely with our wax once and then work the wax into the string using your fingers and fast movements
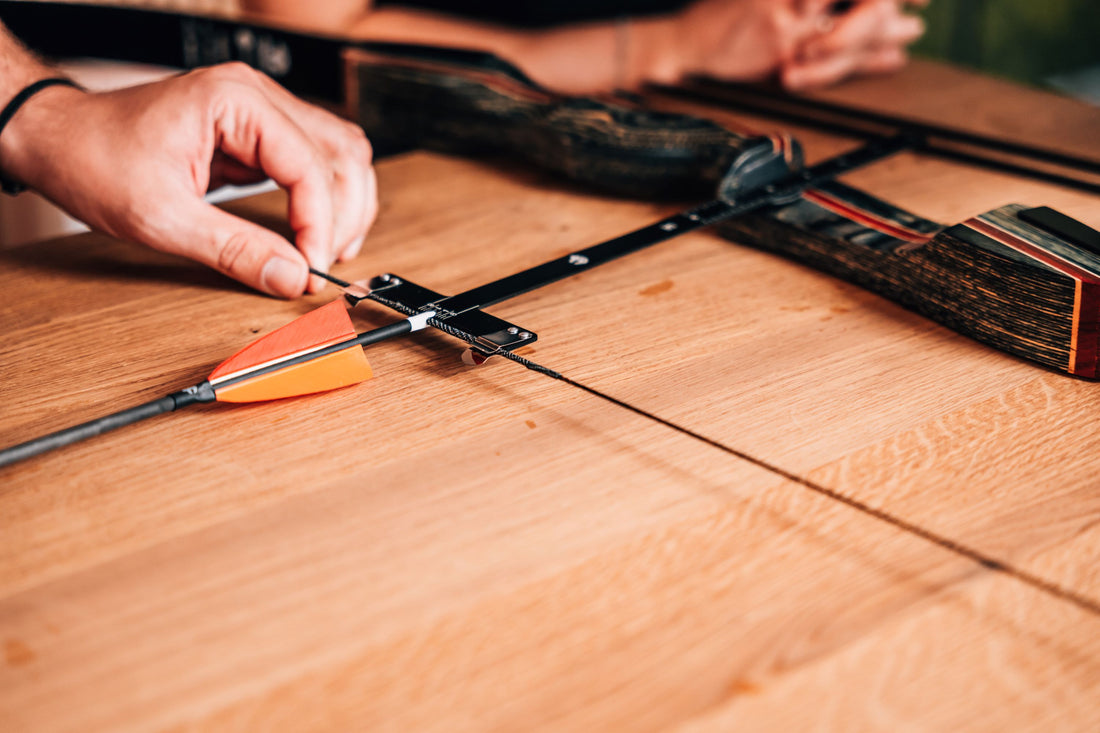
4. Check your arrows
Your arrows have to put up with quite a bit over the course of a season, even if you always hit your target. If it's not already time for a new set of arrows, be it custom or standard, there are still a few things to consider before you let your old arrows fly. Here, external influences must be checked, too. Especially the Nocks should be replaced at the slightest conspicuousness, because here threatens an empty shot should break the Nock. The shaft is also safety-relevant. By a bending test (attention only with carbon and wooden arrows, never with aluminum) you can check whether the shaft has damage in its structure. In addition, you can now see if your feathers are still gluing properly and your tips are tight.
5. Check your protective equipment
The most important thing comes at the end: The right protective equipment! Check your shooting glove; finger tab und arm guard. Of course, these should also be fine. Especially leather goods last a long time with the right care.
How to make your bow ready to shoot!
Your bow can now be made ready for shooting after all components have been checked. Very important: Use a Bowstringer to string your bow! When the bow is strung, you should check whether your limbs are twisted in any way. Look at the bow from the back and check whether the string sits centrally along the entire bow. Then check directly whether your brace height fits and your nock point is still sitting at the right height. After a few draws and no conspicuousness, however, it can start right away!
Have fun!